Point Cloud to Revit
The process for importing point cloud into Revit is simple and user friendly, however some work must take place upfront to ensure that we only import the data we need for our project. A Point cloud is a set of data points in some coordinate system defined by X, Y and Z values that represent the surface of an object. Point Cloud is the data type resulting from a 3D laser scanner used to measure dimensions of space in 3D. Point cloud is practical, low cost, and accurate way of documenting existing dimensions. In the AEC industry, it is mainly used in building renovations, construction verification and as-built analysis.
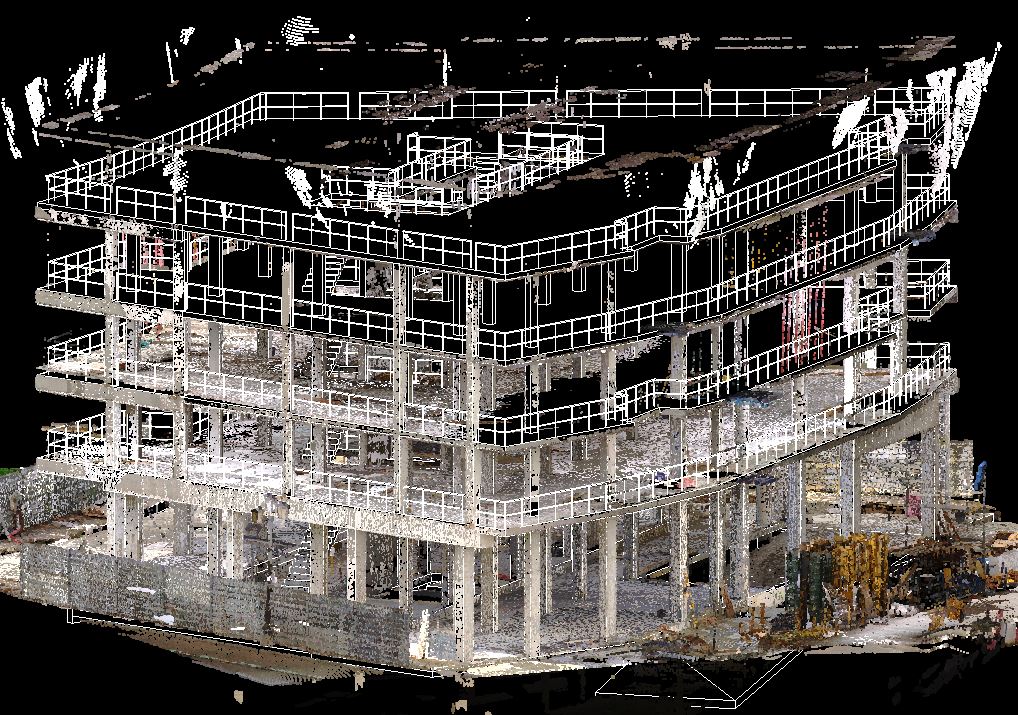
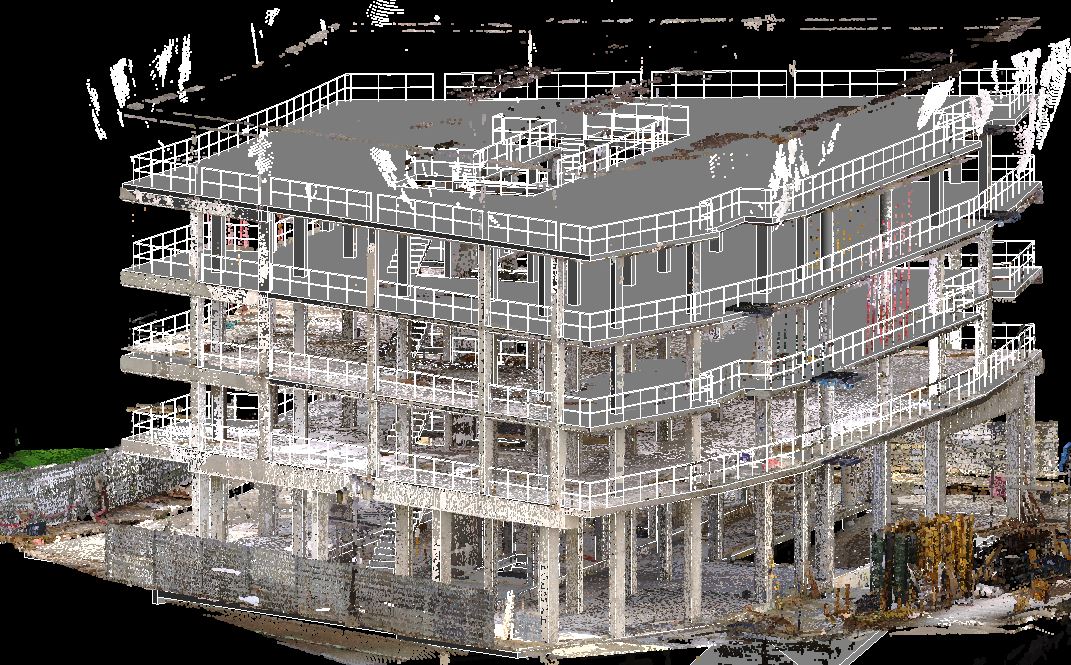
3D laser scanners typically scan the surrounding environment in a spherical way (360° Horizontal x 270° Vertical) which means, they cover about 90% of a sphere. Let’s take for example a scan that was taken outside a building, you will see the trees, the parking lot, utilities, etc. All of which may not be needed for your Revit modeling. Before importing this point cloud into Revit, you will need to delete all point cloud scenes that you don’t need otherwise, the size could be massive and will hinder the computing power of your pc causing it crash. So, as a rule of thumb, always remove point cloud that is not relevant to your project as a first step. This can be done using AutoDesk Recap. Another useful tool for manipulating point clouds like changing the point size, scale and geo-referencing is CloudCompare, which is a free and open source software. Other issues you might face with point cloud files include density, lack of color, scale and units. Most of these issues can be overcome using Recap and CloudCompare